Gas burners after a wash
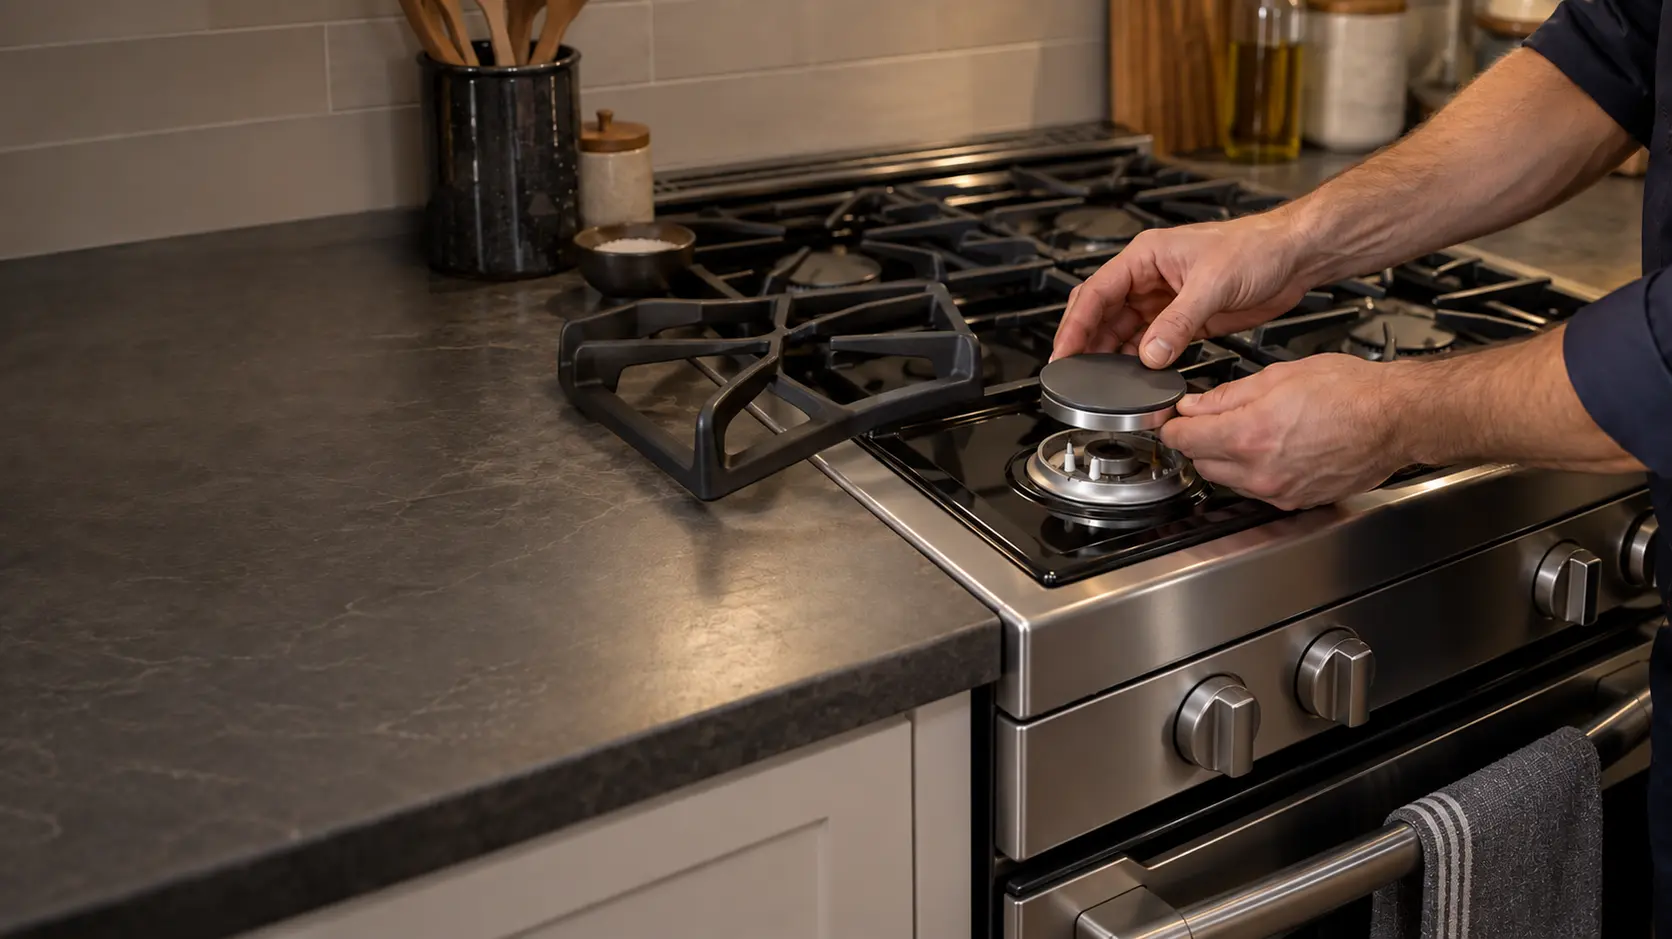
A sealed gas burner is a stack: a cast or aluminum head with a ring of small slots, a flat cap that sits on top, and a white ceramic electrode beside it. Cleaning usually means lifting the cap and head, soaking or scrubbing them, and setting them back. GE traces most ignition problems to exactly that moment, either because food blocked the ports or because water is still sitting in the ignition port and flame ports. A wet burner will click continuously and not light until it dries.
GE's advice is to shake the parts out and let them air dry thoroughly, or set them in a warm oven for 30 minutes, before refitting. Clear a blocked port with a needle or an opened paper clip pushed straight through; do not widen it.
Which cap goes where
Most stoves have burners of two or three sizes, and each cap only belongs on its own head. GE warns that a medium cap placed on a small burner will stop it working properly. A correctly fitted cap lies flat and does not rock when touched. If two caps look nearly the same, try each on the stubborn burner and keep the one that sits dead level.
The white electrode that lifted
Wiping around a burner base can pull the electrode up out of its seat. GE describes pressing it back down with thumb and forefinger, using a clockwise twist, until it sits flush with the top, and wiping its tip with a dry paper towel even if it looks clean. Do this with the knobs off and the burner cool.
Source: GE Appliances — Slow ignition, no ignition or clicking on surface burners — Wet or clogged ports make a burner click and not light until dry; air dry or warm oven for 30 minutes; press the electrode flush with a clockwise twist; GE Appliances — Burners won't light — Use a needle or paper clip on the ports; wipe the electrode tip with a dry paper towel and press it down
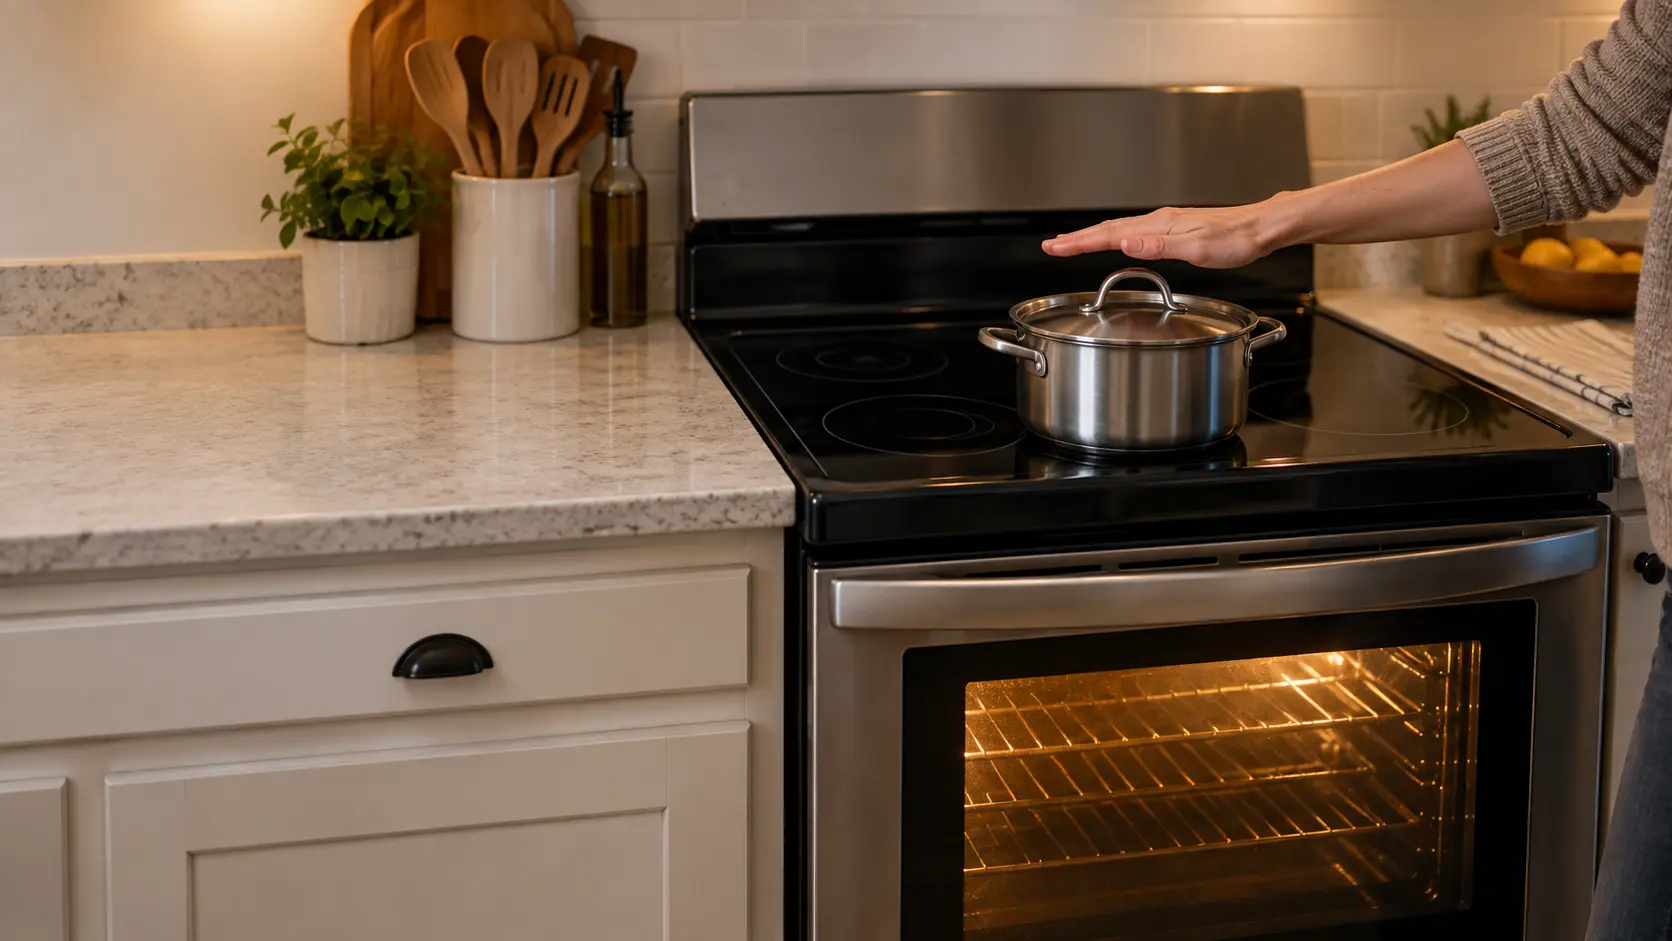
Coil elements lifted out to clean the drip bowls
A plug-in coil element lifts at the front and slides out of a socket at the back, so the drip bowl underneath can be washed. Putting it back is where things go wrong: the coil's two prongs have to slide fully into the socket, and the coil has to sit flat on its support. A coil that is only half in may heat weakly, flicker, or do nothing.
GE's test for a dead coil is to plug it into another socket of the same size. If it heats there, the coil is fine and the original socket needs a technician; if it stays cold in a known good socket, the coil itself is due for replacement.
- Unplug the stove or switch off the breaker before lifting a coil out.
- Never soak a coil or its prongs in water.
- Leave the drip bowls bare: GE says foil lining sends extra heat to the top.
- Line up the prongs straight with the socket and push until the coil sits level.
The sensor button in the middle of the coil
GE's coils from 2018 onward carry a round button in the center that reads the pan's temperature. Food soil on it can stop it working, and GE says to wipe it with a damp sponge and to press it gently to check that it rises and falls freely. A button stuck down by dried spill, or an oven cleaner film, can make the burner behave oddly.
Source: GE Appliances — Electric surface burners not heating — Test a dead coil in another receptacle of the same size; if it still does not work, the element needs replacing; GE Appliances — Sensi-Temp coil burners not working — Center sensor since 2018; food soil can obstruct it; wipe with a damp sponge; press the medallion to check it rises and falls; coil works elsewhere means the receptacle needs service; GE Appliances — Surface seems too hot on coil burner models — Covering drip pans with foil transfers more heat to the top

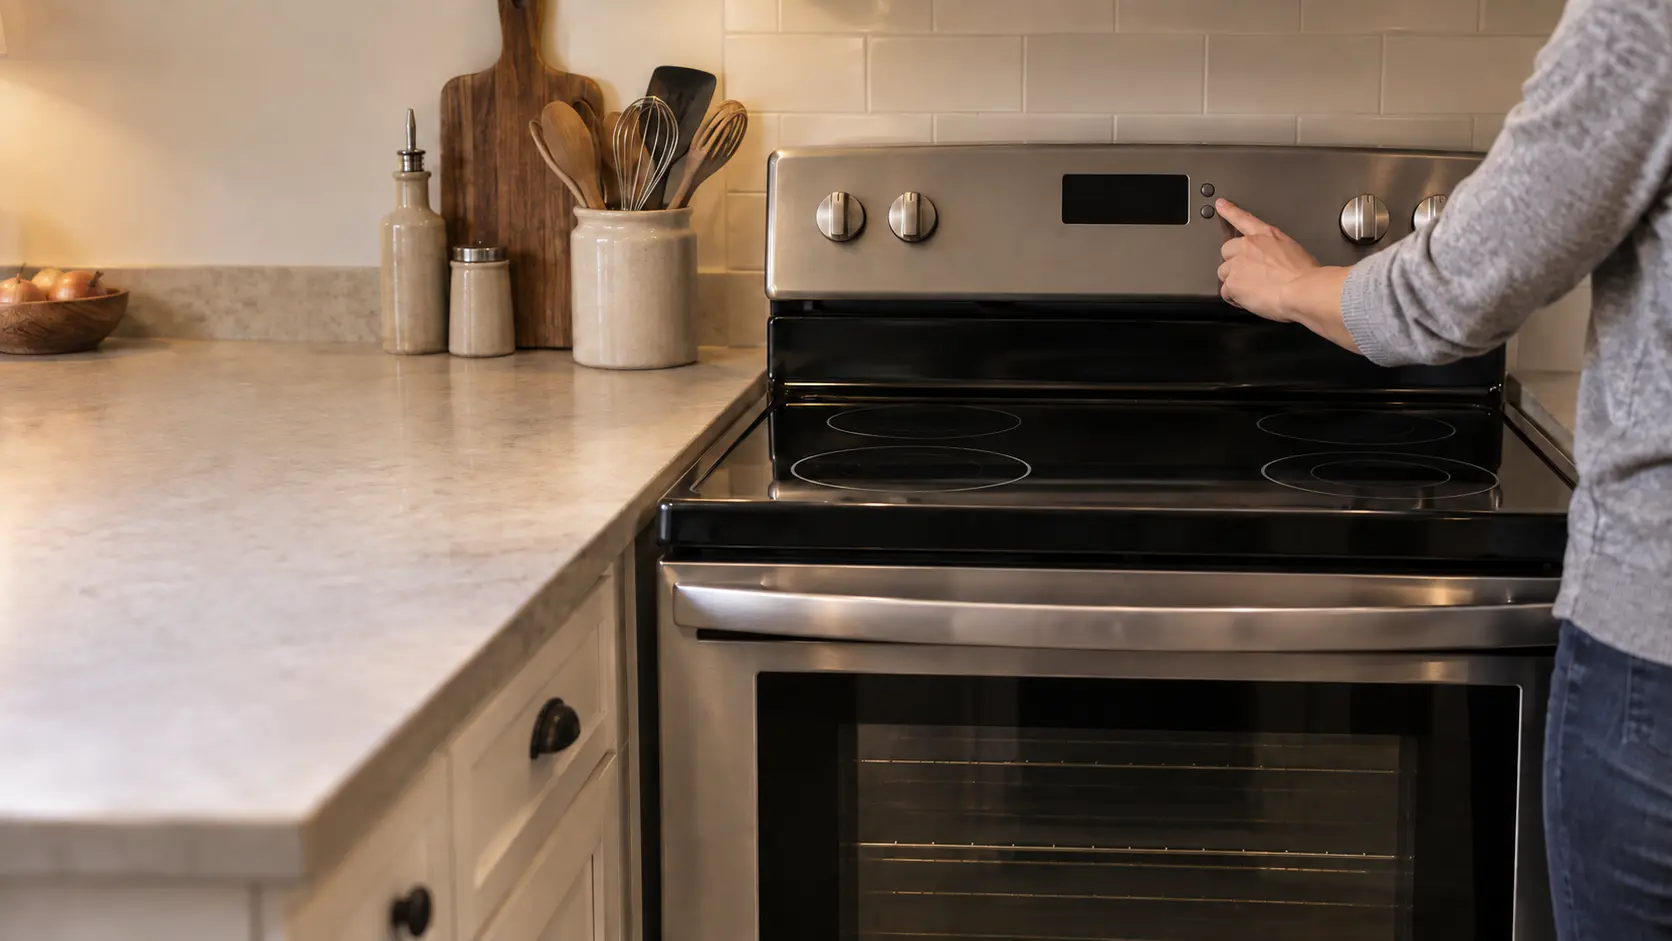
Glass tops and touch keys after a wipe-down
A smooth glass top has nothing to take apart, so when an element refuses after cleaning the cause is almost always the controls. On touch-control models, running a wet cloth across the panel presses keys, and one of those keys may be the control lock. Whirlpool notes that its control lock prevents unintended use of both the top and the oven, and the manual names the key to hold to release it.
Water left standing on touch keys can also make them read as pressed, beep or refuse input. Dry the glass completely with a towel and wait a few minutes before trying again.
Not glowing is not the same as not working
After a thorough clean, people notice for the first time that an element does not glow on low. Whirlpool explains that on low settings such as keep warm and simmer, elements hold their temperature without glowing red. Put a pan of water on the zone for five minutes before deciding it is dead.
Source: Whirlpool — Element(s) not working, glass top — Control lock prevents unintended use of the top and oven; on low settings such as keep warm and simmer elements do not glow
Knobs that went back on the wrong shafts
Pulling every knob to wash them is common, and so is putting them back in a different order. GE reminds owners that knobs removed for cleaning must go back in the proper location and position. On many stoves the knobs look identical but are not: some have a different marking ring for a larger burner, and gas knobs and oven knobs often differ inside.
A mismatched knob creates a real hazard. Its off mark may not line up with the valve's off position, so a burner could be left on low while the knob seems to read off. Match each knob to its burner using the small diagram printed beside it or in the manual, and check that every one points straight to off with the valve closed.
- Lay the knobs out in the same order as the burners before washing them.
- Look inside each knob: the flat side of its opening must meet the flat side of the shaft.
- After refitting, turn each knob through its full travel and back to off.
- Light each burner from its own knob to confirm the pairing.
Source: GE Appliances — Oven will not come on — Knobs removed for cleaning must be put back in the proper location and position
What cleaning can actually harm
Most after-cleaning problems are temporary, but a few are not. Spray cleaner aimed at the control panel can drift into the knob openings and reach switches, which then tick or fail. Abrasive pads scratch the electrode's ceramic and can crack it. Heavy-duty oven cleaner splashed onto a glass top or aluminum burner heads can stain or pit them.
Spray the cloth rather than the stove, keep water away from knob openings, and use only the cleaners the manual names for glass and burner parts.